
Thanks to an extended weekend, I was able to get some hobbying accomplished. I read into some new ideas, bottled my Winter Wheat Ale and found an extremely local source of raw honey. Above, the straw-colored brew glows next to the raw, never-heated honey.
The brew was made with 6lbs of light malt. But first, a 145-degree, 1-hour bath was made in the pot with two, 1.5lb bags of oats and wheat a-swimming in it. It is flavored with nutmeg and Hallertau Hops.
I poured it into a fermenting bucket, pitched the yeast, and was done. Sort of.
Yes, the bucket exploded two days later. Big deal! I performed an emergency clean up and saved nearly 100% of the brew.
Lesson learned: too much malt = your airlock shooting like a bullet off the ceiling and twin streams of foamy kräusen (the foam that forms during fermentation) spraying down the walls.
Below, I will show you my bottling process for the Winter Wheat. It fermented for two weeks.
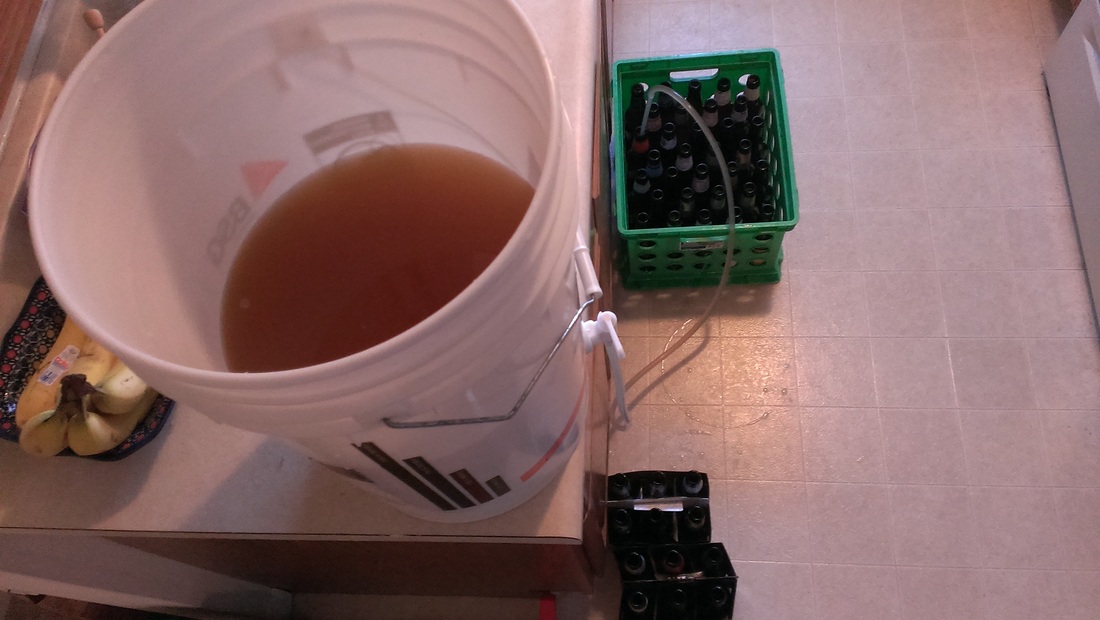
Gravity does nearly all of the work. You transfer the brew into another bucket with a spigot at the base. Then, you slowly fill your bottles. There is a touch-sensitive mechanism at the base of the tube that goes into the bottle. So filling only involves pressing down. You don't have to touch the spigot after opening it.
There is a small amount of sugar added at this point to make the remnant yeast crank out CO2.
There is a small amount of sugar added at this point to make the remnant yeast crank out CO2.
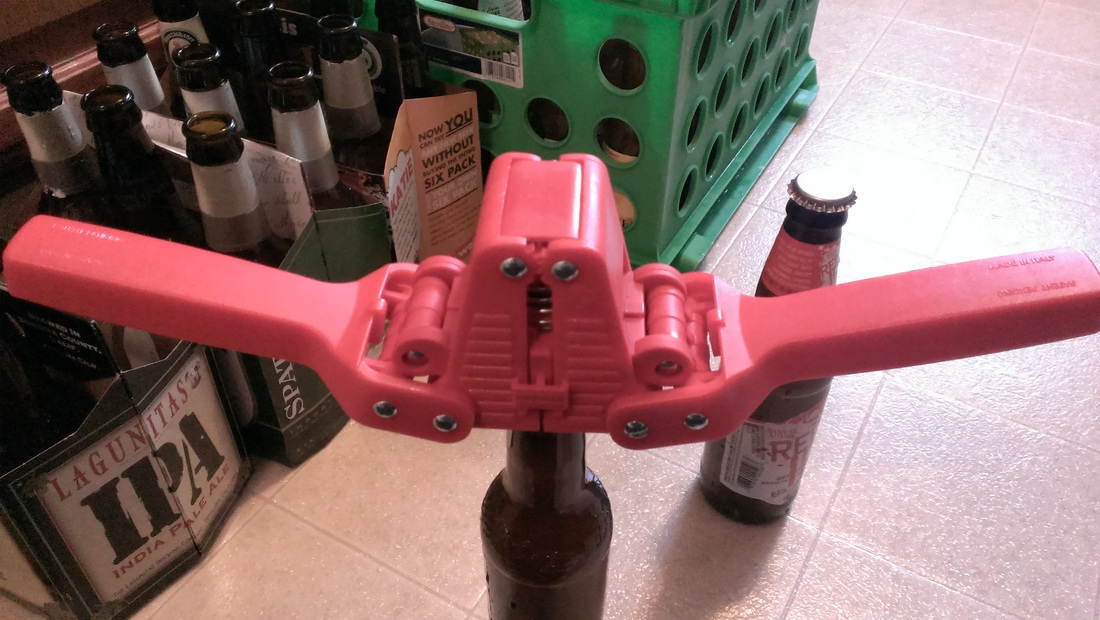
Finally, this 20$ capping device pinches the caps on with a little muscle flexing required. Done. Now just wait a week for the bottles to carbonate. I say 20$ because I broke it once due to being too forceful. My local homebrew supply guy gave me another for free :).

A close-up of the end-product: Carbonated Winter Wheat, circa 1/24/15
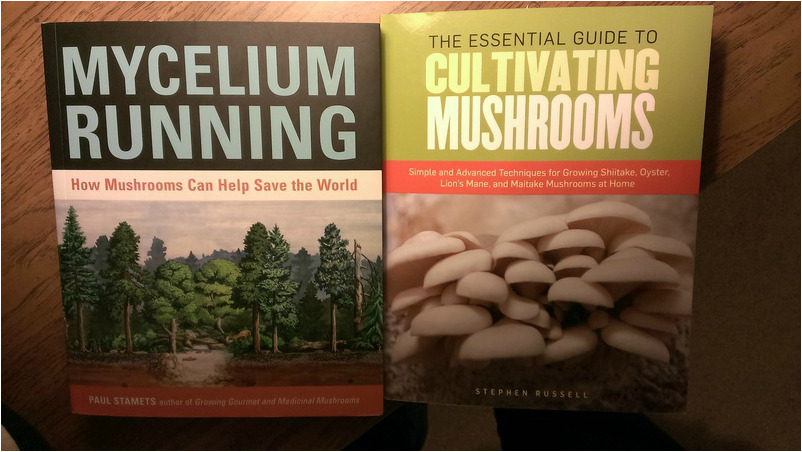
I had some time to look into a few new books (pictured above). The one on the left seems very tree-huggy, but it is actually a fascinating, solid-science based book that goes more in-depth about mushrooms in all sorts of thought-provoking ways.
While reading these books and others, I came across a new, German word that led me to a new culture altogether.
While reading these books and others, I came across a new, German word that led me to a new culture altogether.
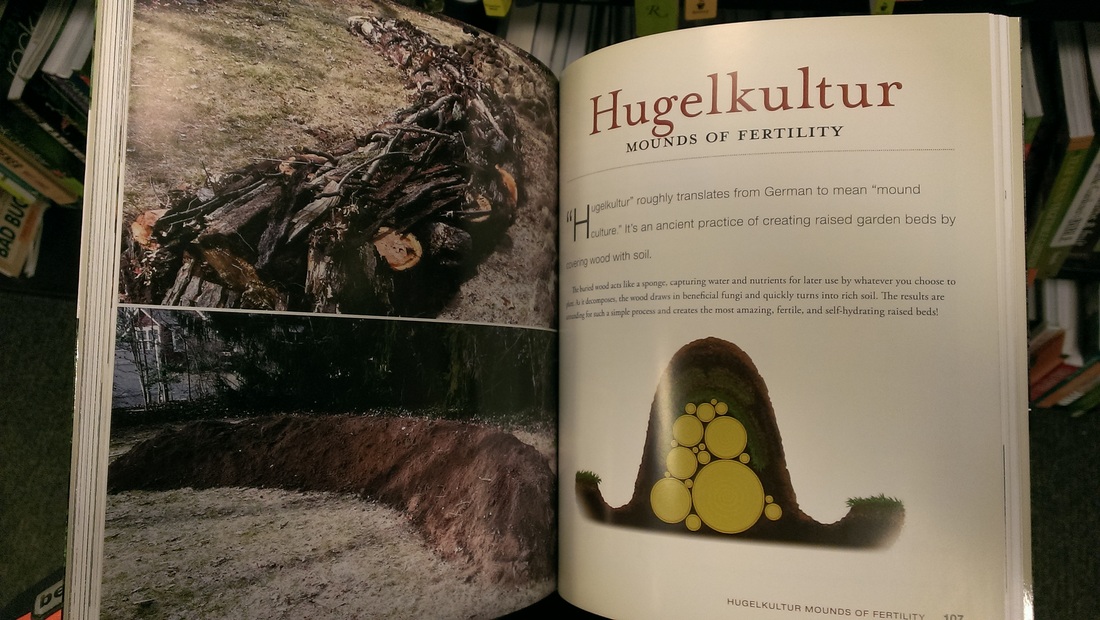
Yes, Hugelkultur, pronounced [hoog-le kool-toor].
The idea is basically this:
Take some logs, bury them in dirt and compost, and viola! You have made your very own Hugelkultur. It is a method of gardening that encourages mushrooms to break down the wood in your newly-formed"hugel" or hill and free up all sorts of nutrients for your plants. Also, the logs are excellent at water-retention. This method of gardening is a great idea for property with a lot of run off.
For an added treat, you can inoculate these fresh logs with your favorite mushroom species and enjoy the shrooms it produces as your garden grows.
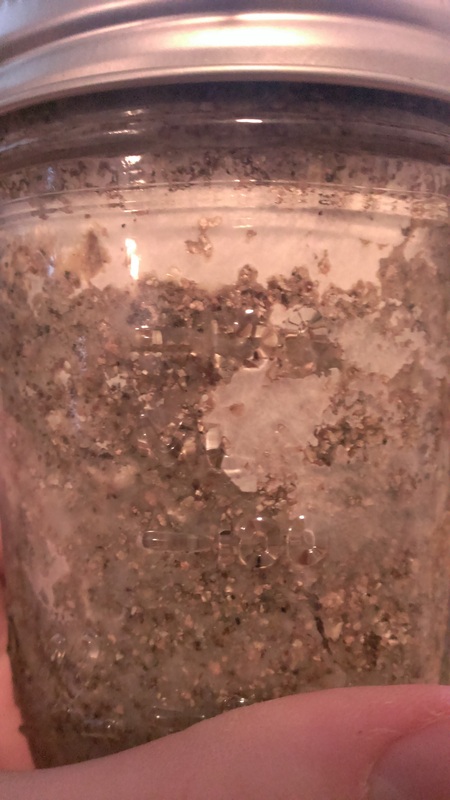
To remind you of what mushrooms look like as an organism (mycelium) and to brag about the process of my cultures in jars, I've added a pick below with my most-advanced jar of Oyster Mushroom spawn. The whiter, the better.
The jar is now nearly "colonized", or completely taken-over by the mushroom mycelium.
The idea is basically this:
Take some logs, bury them in dirt and compost, and viola! You have made your very own Hugelkultur. It is a method of gardening that encourages mushrooms to break down the wood in your newly-formed"hugel" or hill and free up all sorts of nutrients for your plants. Also, the logs are excellent at water-retention. This method of gardening is a great idea for property with a lot of run off.
For an added treat, you can inoculate these fresh logs with your favorite mushroom species and enjoy the shrooms it produces as your garden grows.
To remind you of what mushrooms look like as an organism (mycelium) and to brag about the process of my cultures in jars, I've added a pick below with my most-advanced jar of Oyster Mushroom spawn. The whiter, the better.
The jar is now nearly "colonized", or completely taken-over by the mushroom mycelium.
All this reading led me to a another new word: Permaculture.
The idea is just a method of doing and growing things that has the future permanently in-mind, or so I've gleaned.
I will link you to the cool website I found about "permies" and the forums they use to share DYI information. I will detail my thoughts on this later, when I have more time and information.
Enjoy!
http://permies.com/
 RSS Feed
